
Beginner's guide for crafting leather wallets & cardholders
You want to start making leather wallet or cardholders and don't know where to start? Let's dive into the range of tools and leathers you would need, as well as hardware.

You want to start making leather wallet or cardholders and don't know where to start? Let's dive into the range of tools and leathers you would need, as well as hardware.
You might ask yourself why a crafter would help you become a potential competitor. Well, I don't care about a good competition, because I'm mostly doing this activity to have fun. I've also learnt a lot thanks to the community, it's my way of returning the favour.
This guide is here because I started, like you, by asking myself a lot of questions. I also made a lot of mistakes buying tools I didn't need, or cheap ones that should have been better in the first place.
Let me help you with this.
Here is the first list of essential tools I've been able to refine for you. The goal is to avoid you buy pre-made Amazon kit with too low value, and at the same time you acquire tools that won't disgust you for the rest of your life.
You'll need these if you punch, or cut. So, typically, you'll need these, period. Indeed, you don't want to break your tools or blades. Punch on the pad, cut on the mat. I recommend A3 size if you have enough room for this.
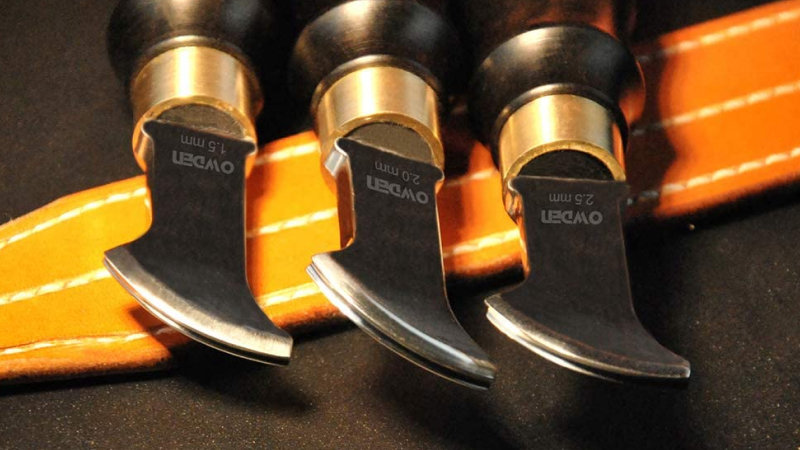
You'll need to cut the straps, or maybe shape the end by hand. After 2 years of practice, I finally found a good knife that meets my need for sharpness, precision, and solidity. Blades are trimmable and replaceable.
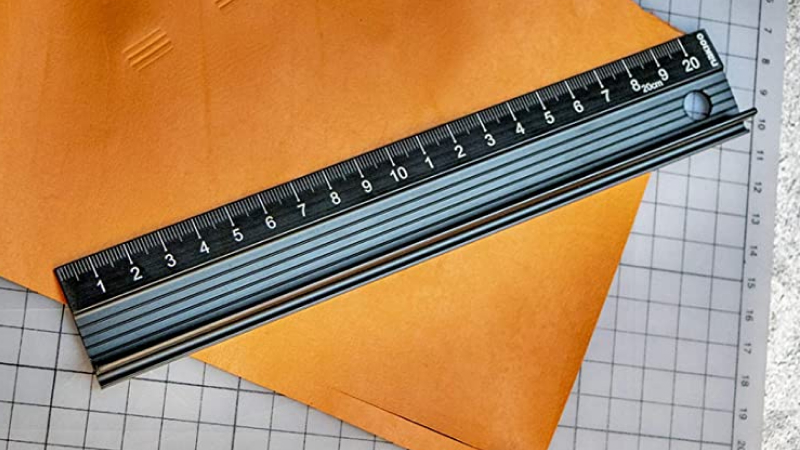
This ruler is perfect to protect your fingers while cutting, but also to protect your leather and avoid the ruler from slipping. I've always had a 30cm ruler, but exists in 20cm as well.
This precision tool will help you draw accurate and straight stitching lines or trimming line for all your leather goods. The rounded legs and the setting screw are pretty handy.
You need to create holes in the leather before stitching. This is one way to get french style stitching. I recommend a set of 2 & 8 teeth at 3.85mm spacing. (more common)
I recommend you start with this pack to invite you to play with colored thread on your leather goods. You'll then buy longer spools when required. (rec. 0.45/0.55mm)
This brand is my favorite and recognize by the community as the best. The needles are almost indestructible and they are used by saddle makers. I use sizes 002 or 004 usually.
This kind of hammer is really useful for hitting tools made with steel. It's heavy and will help with punching holes in the leather without too much effort, and without damaging your tools.
There are multiple references of glue that works perfectly.
The Aquilim 315 is one of the best, but not necessarily available everywhere. I'm happy with the Suede one, and the Fiebing's.
I started directly with a stitching pony, and I've learned how to stitch without after that. I prefer with the stitching pony, but if you are on a budget you can try without first.
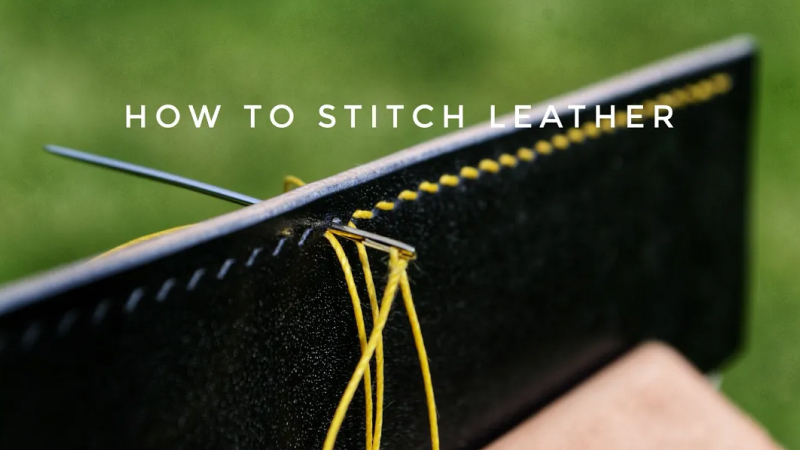
Take a look at this playlist on how to stitch leather.
Here is a list of some complementary tools that will help you getting cleaner and more professional looking edges. Some people prefer raw edges, I prefer well finished ones so they are protected and easy on the eye. Some videos about that.
This tool is indispensable if you want smooth and clean edges on your leather creations. I recommend the size 0.7mm and 1.3mm thickness. But start with the first one if you are on a budget. Helps make the edges durable.
Don't buy all the grit-level. I recommend at least a 300, a 900, and 2000 if you want those candy-eye edges. You need those to harden your edges and make them smooth. Follow this small tutorial for more info.
This kit is here to help you get shiny edges by burnishing them using back and forth movements. I recommend the whole set since it will serve different purposes. You can choose to rely only on sanding papers, but the small slicker will still be useful.
This tool is optional, but recommended if you like this professional aspect on your edges with a beautiful decorative line. I use 2mm spacing almost everywhere when I crease. This one need to have an external source of heat to better work.
If you want to have good decorative lines with the creasing tool, you'll need to warm the steel with this lamp burner before passing it to the leather. You can put basic alcohol for lamp, or the one you use to clean at home can work depending on the country.
You actually don't need to buy anything. I'm sure you've got an old pair of jeans or a cotton cloth that could be used as a burnishing cloth. Again, watch this short tutorial for a better understanding.
I'm adding the clamps to this Edge Tools list, because it definitely help with the good looking aspect. It also helps strengthen your glueing. Add leather to them to protect your creations.
Putting leather on top of the clamps can be long and not that easy to make. If you don't feel like doing it by yourself, the shop sells those pre-made. I have 3 different sizes, and use them all.
Ideal if you want clean radius corners. Even if you can obtain these corners with a classic knife, these small round blades are really handy. The button leads to Amazon, but here is an alternative I would buy too on Etsy.
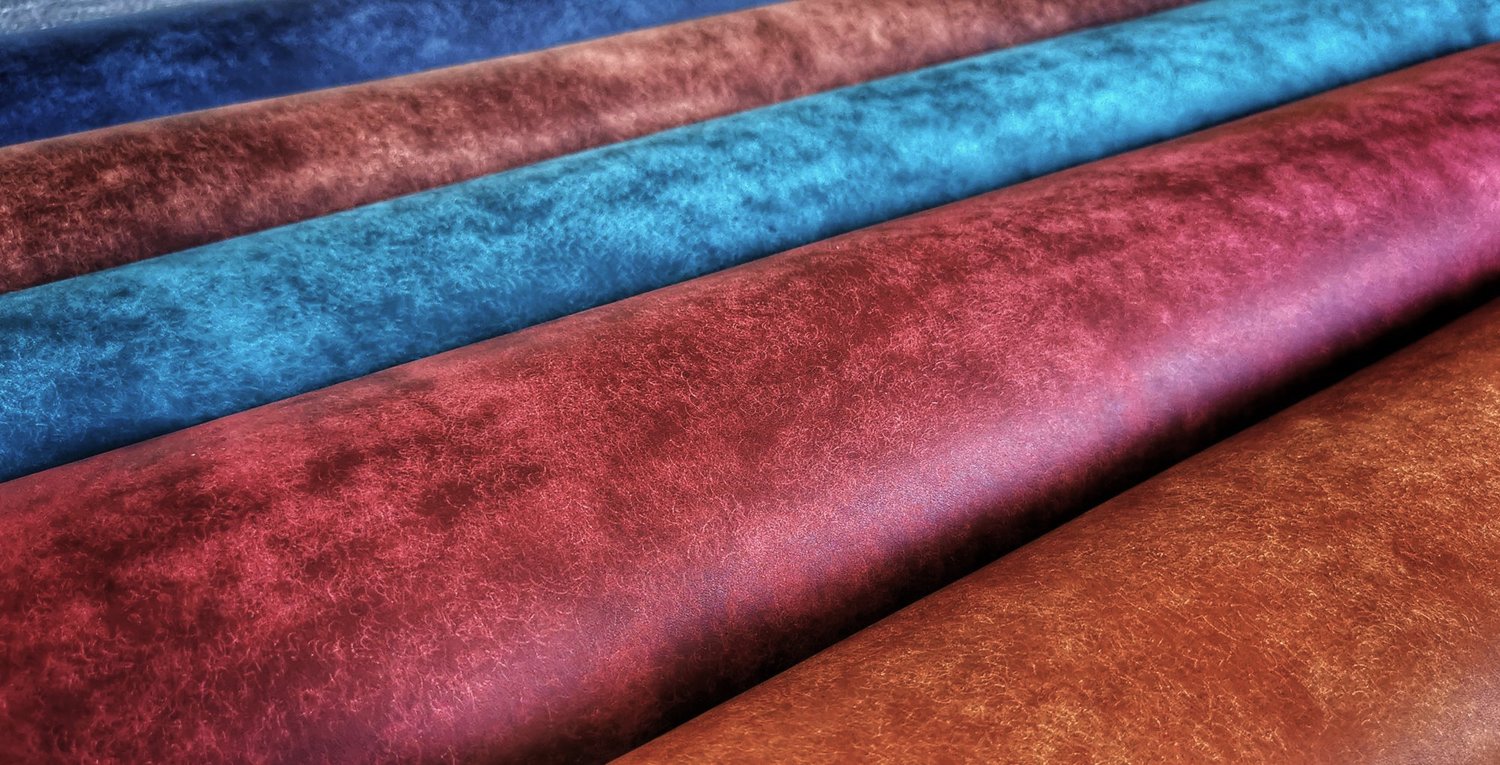
If you are on a budget, I recommend to buy only one thickness of leather, around 1.2mm or 1.4mm.
The easiest to work with is veg-tanned leather, in medium or medium-hard, in my opinion.
Double-check shops around you. Local is usually better to get some seller advice. Otherwise, I'm really satisfied with my 2 suppliers and partners:
This playlist is a gathering of videos that cover the topic of burnishing leather edges. You'll see several techniques to help you adopt the one that matches your preferences and tools. (image by William Cambridge)
If you have a stitching machine, I have nothing to teach you, I don't know how to use these things :D
Otherwise, here is a playlist for different stitching techniques. I recommend trying them all. (image by William)
I gathered some tips & tricks by other crafters. Most of them are really valuable techniques that only experience will help you get and better understand. I recommend watching those videos. (image by Corter)
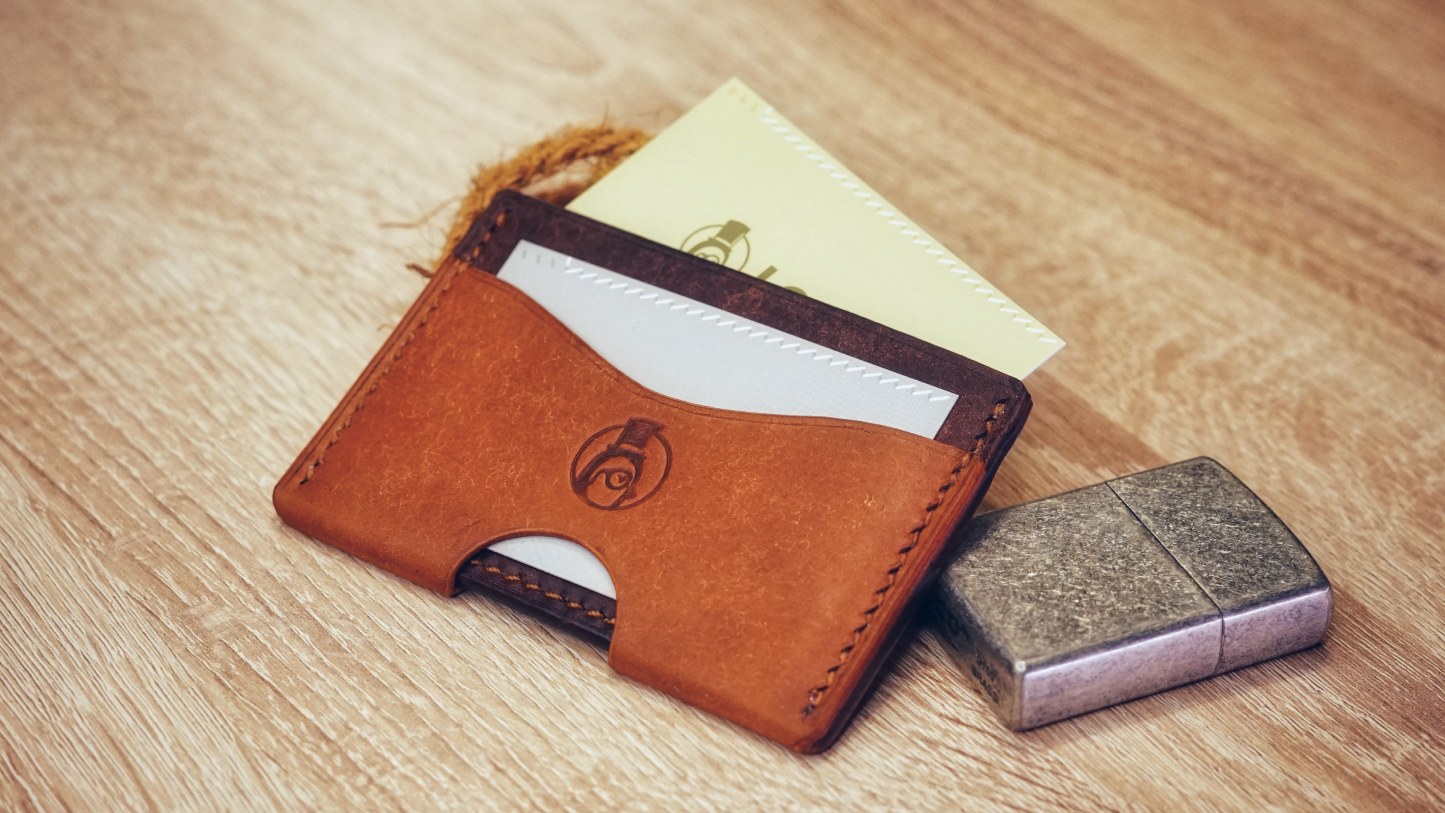
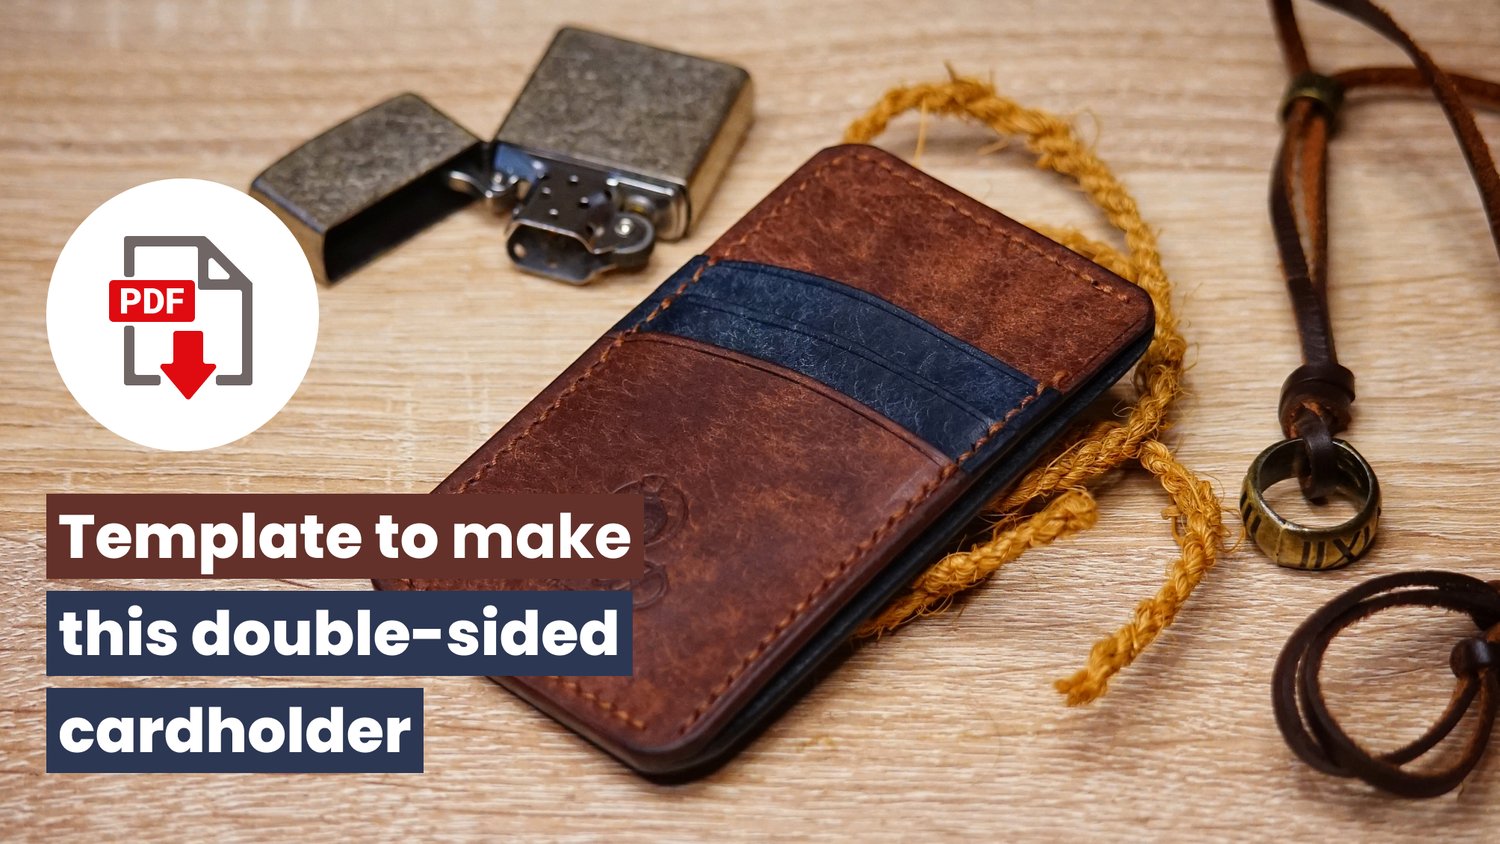
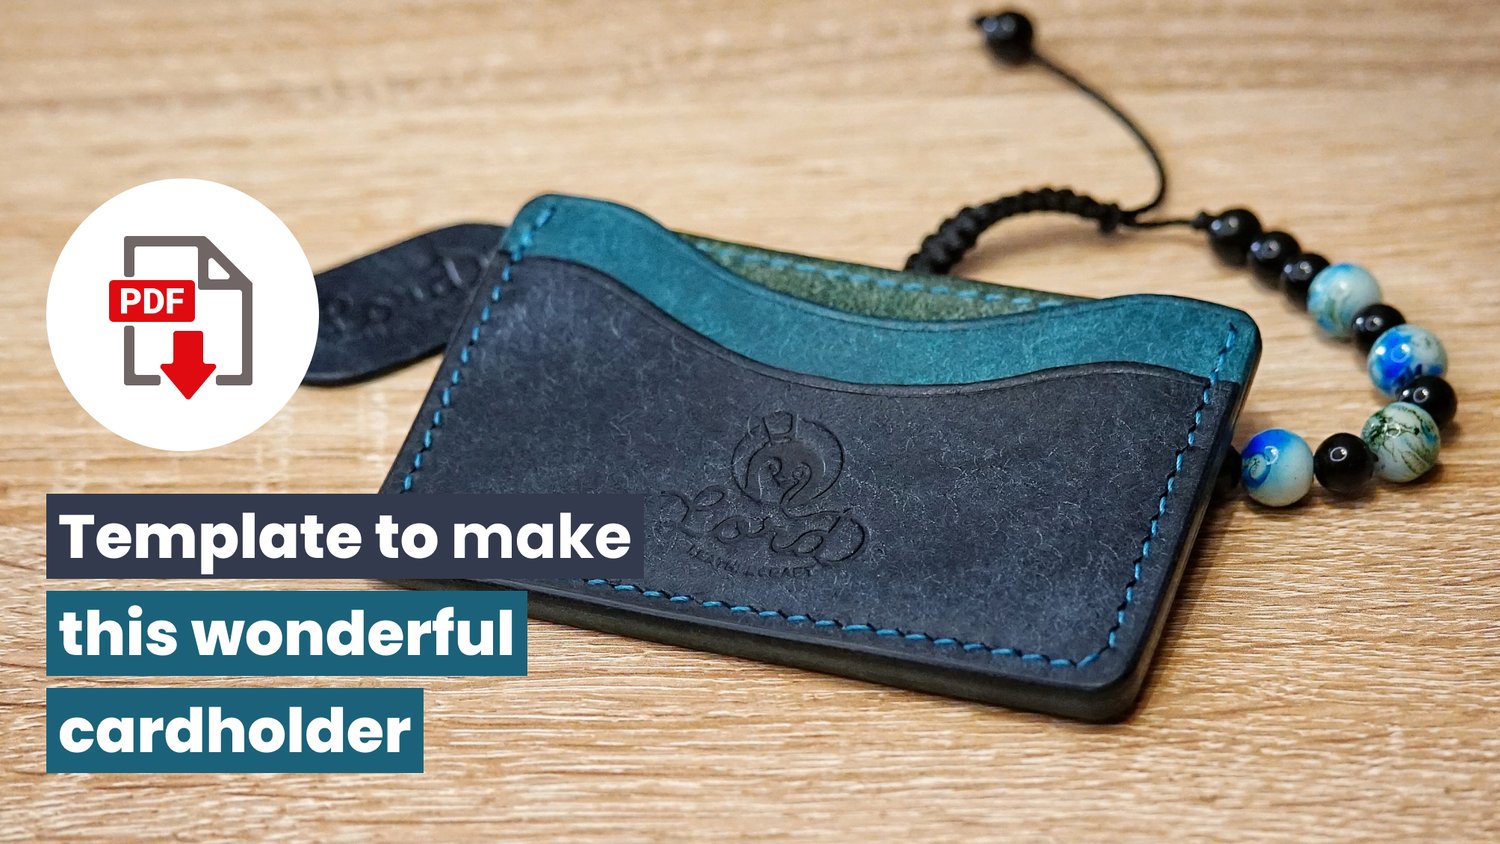
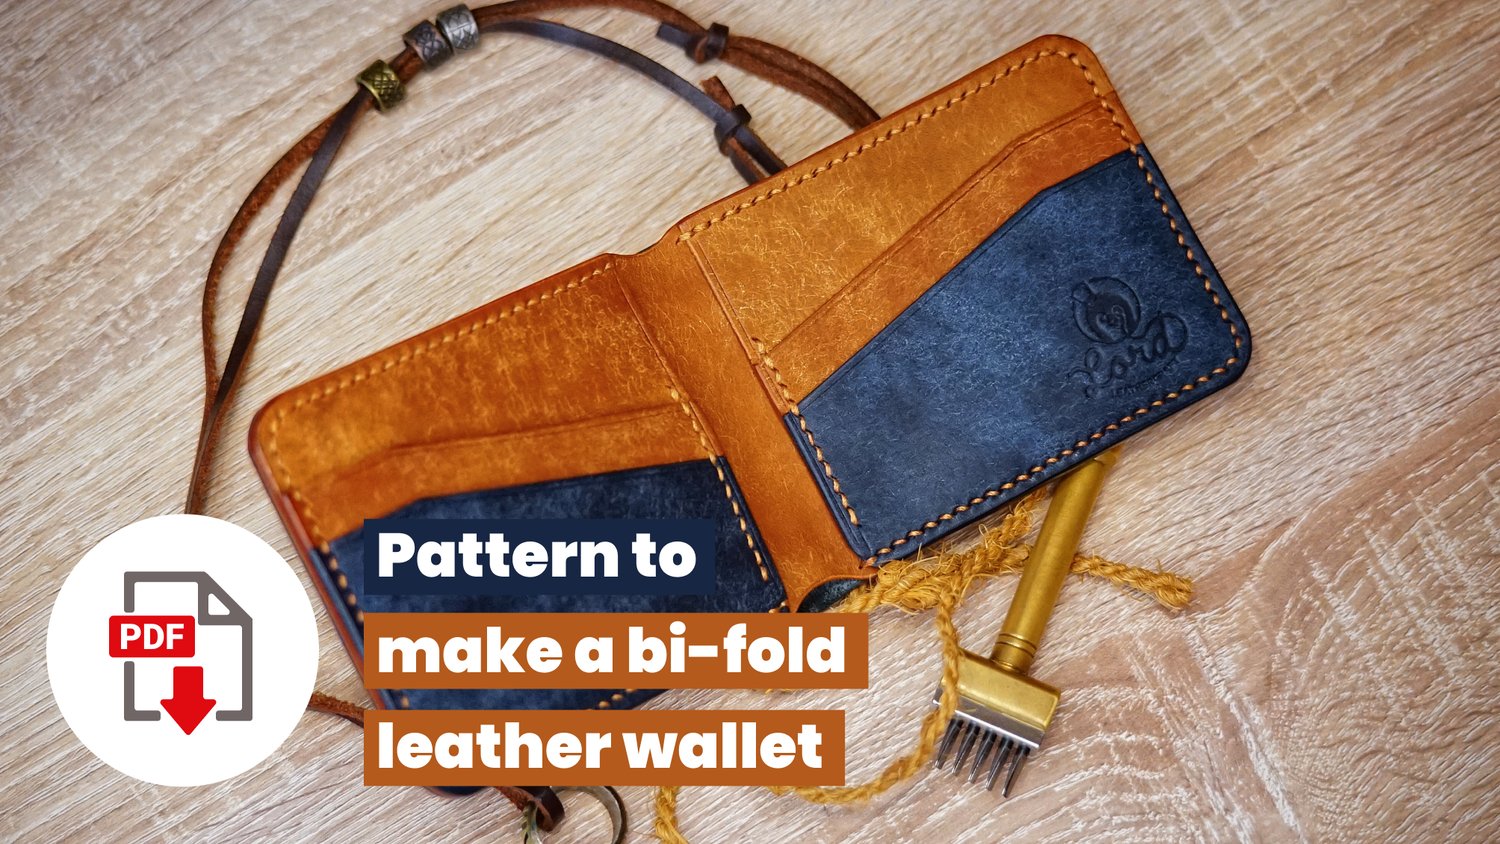
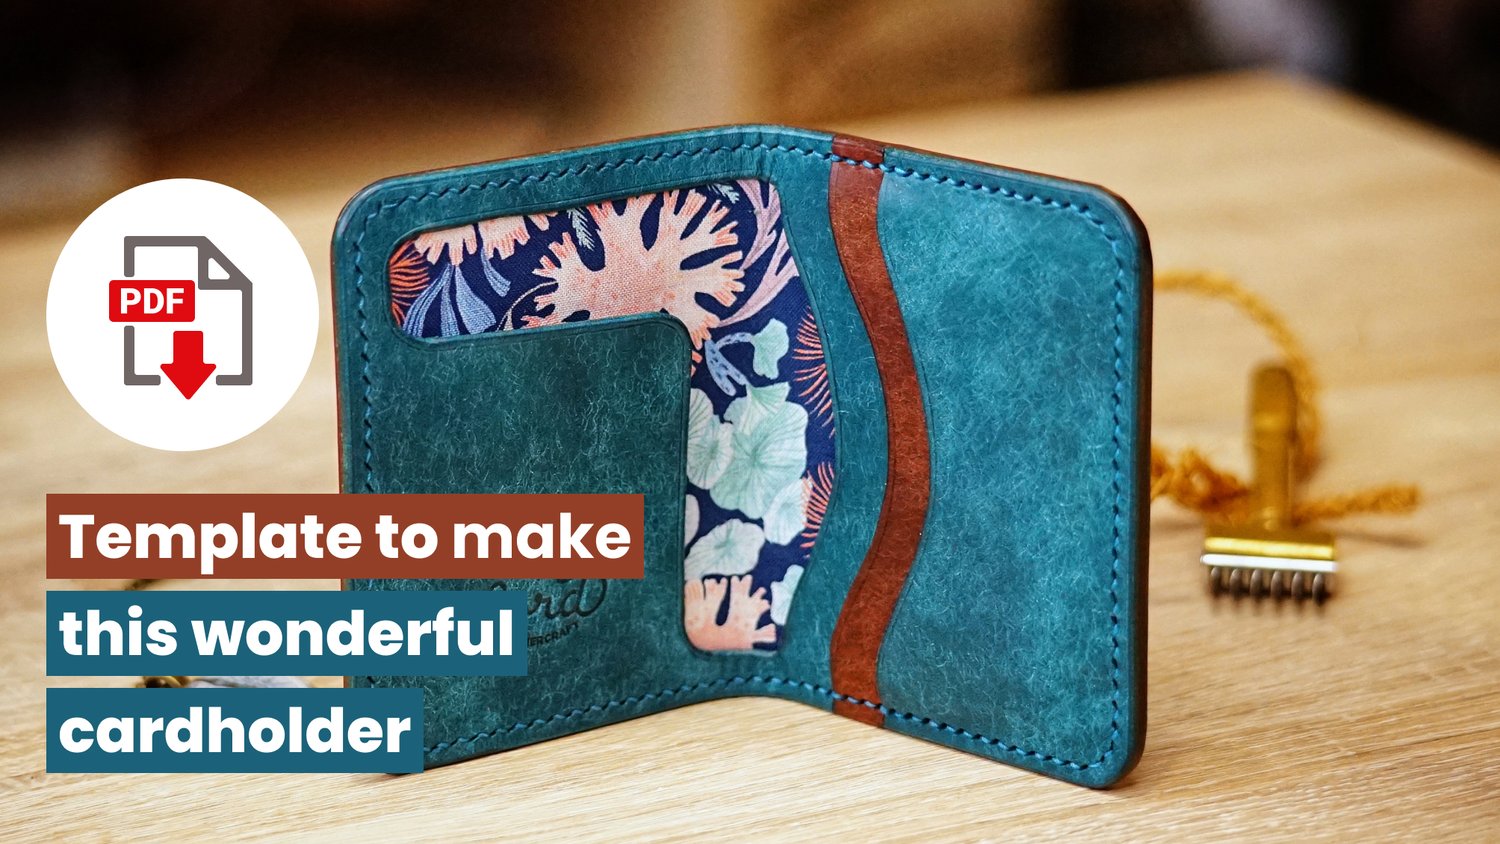
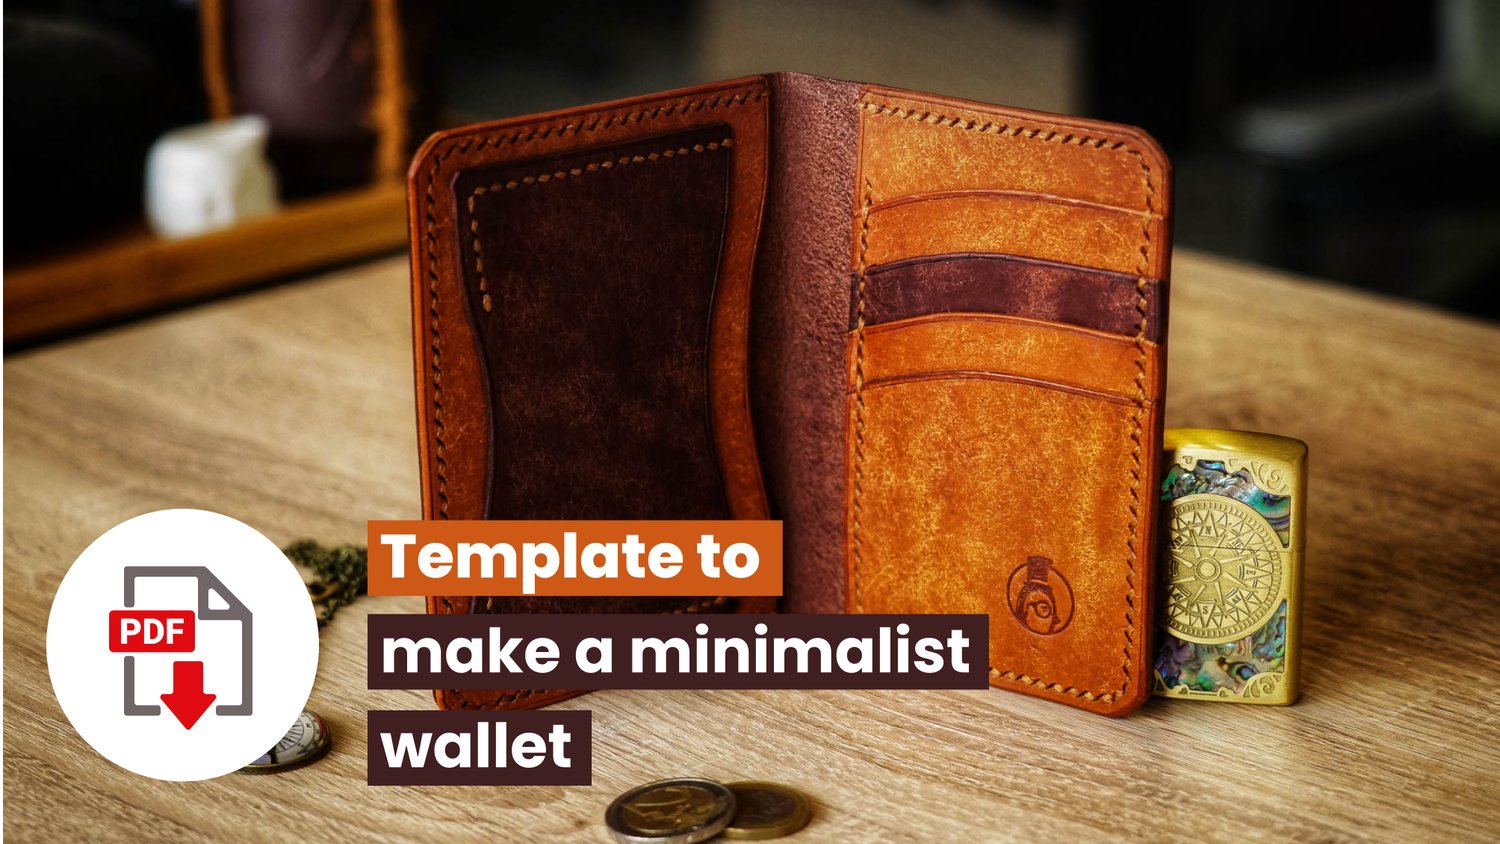
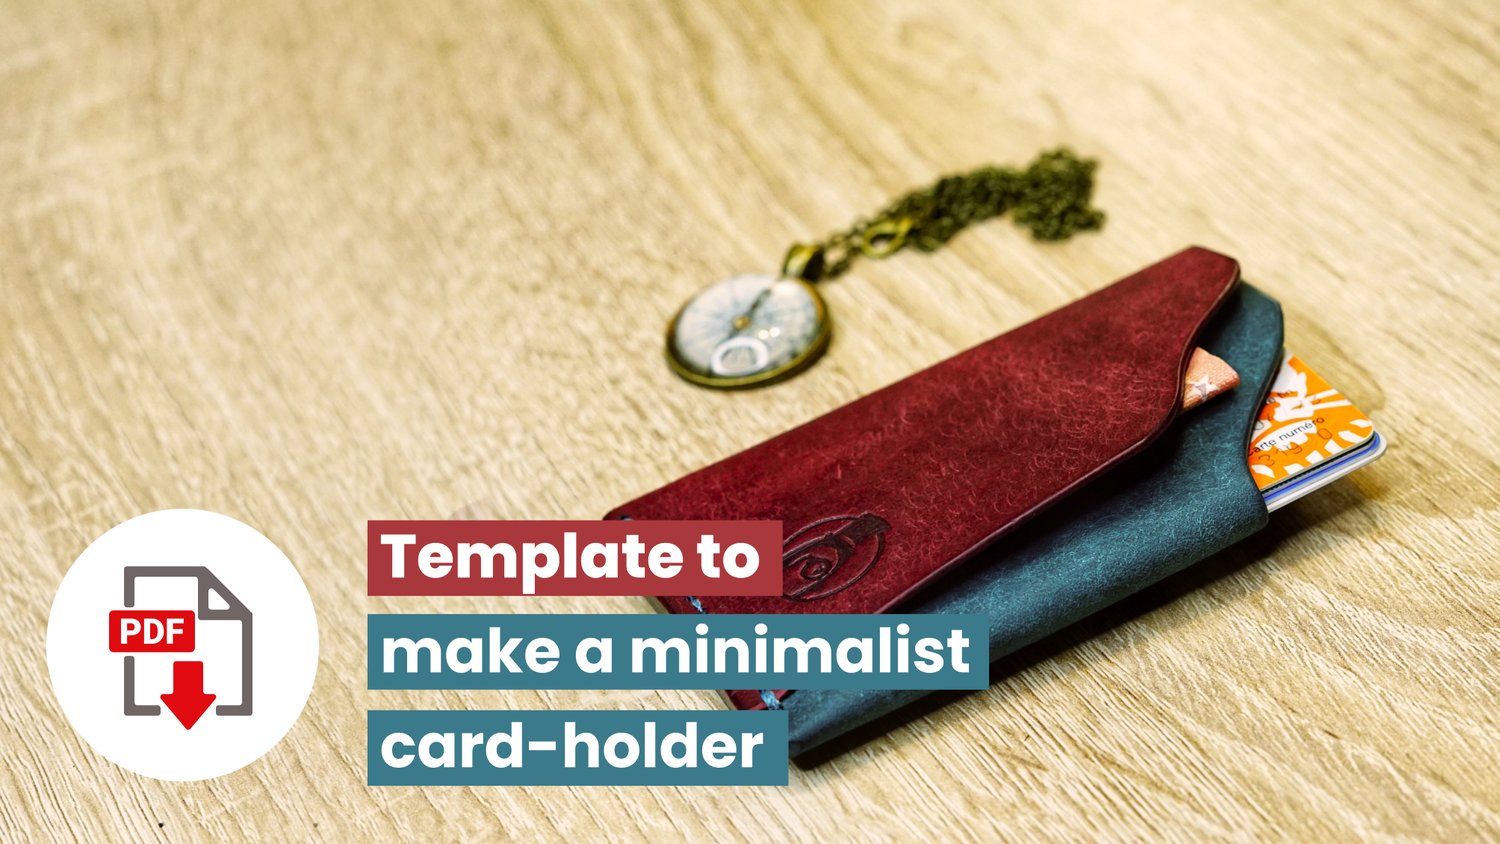
You'll find a lot of patterns out there, but I also made mine that I share with you. You'll get the source files, instructions as well as video tutorials (have a look on Youtube) and product pictures.
It's not easy to answer that. I would say to take a look at the belt making guide I wrote, because it involves way less steps and difficulty.
Otherwise, I can recommend 2 of my patterns:
Once you can make the Nest, you should be ready for all the Wallets Collection. (and you can obtain discount for multiple items bought 👍)
Even if I recommend links from these platforms, I took the time to select specific tools for which I know the level of quality, because I use them everyday.
By default I don't recommend these starter kits. I've made the mistake of taking one on Amazon, and today I use 2 of them, among a list of 24 crappy ones.
I recommend you follow the list I've made for you, picking the ones that make sense for you if you are on a budget. There are some common tools that you can use for making other kinds of goods. Double check the other guides.
I love to help and read your questions. It'll help me improve this guide.
So yeah, please, contact me on Instagram or using the contact form.