Tools you need to start leathercraft
When starting leathercaft, you might ask yourself how much you need to invest to start crafting your first leather goods? What kind of tools do I need?
Let's explore that together.

When starting leathercaft, you might ask yourself how much you need to invest to start crafting your first leather goods? What kind of tools do I need?
Let's explore that together.
To help you focus on starting Leathercraft, I decided to create guides based on my own experience at crafting different leather goods.
This list can be long and may represent a big investment, that's why I took the time to find a good set of starter tools with enough quality so you can try leathercraft, decide what tools you use the most, and upgrade them later.
The entire list below represents around $450 of tools. To reduce the cost, start with the tools you really need to complete the patterns I propose in this shop or check the recommended tools if you follow the steps of another pattern.
For maintenance reasons, I didn't include the price of each item listed below.
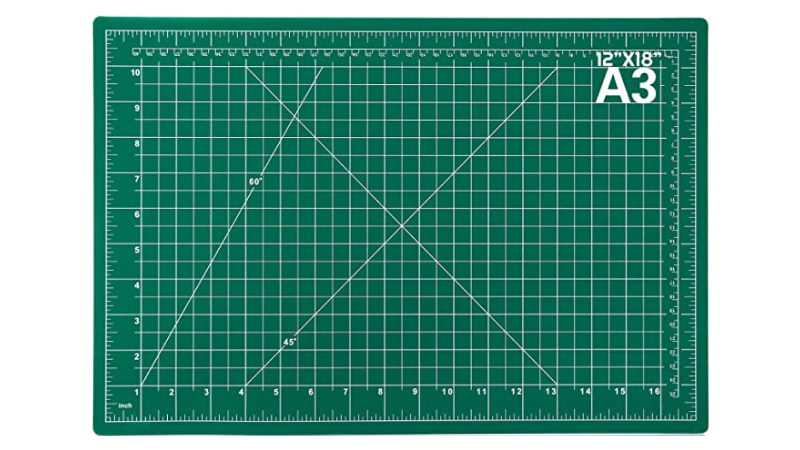
This will help you cut anything without the risk to damage your desk, table or work station. I suggest A3 format if you can.
The only knife you'll need for years as it is delivered with several trimmable and replaceable blades. Blades don't bend easily.
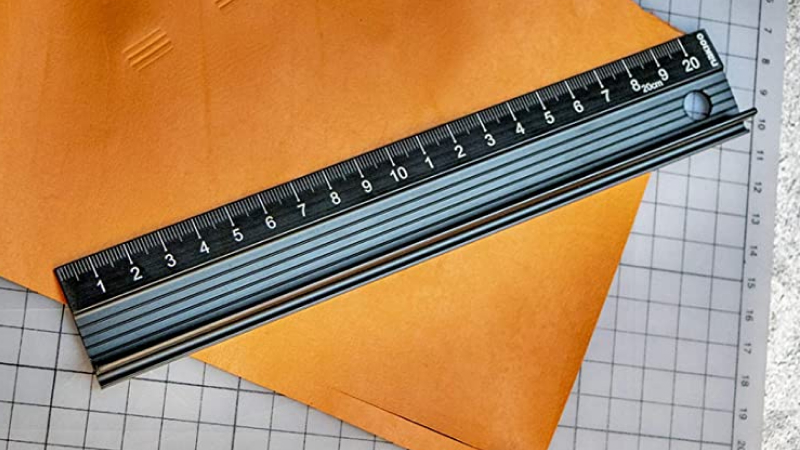
This ruler is perfect to protect your fingers while cutting, but also to protect your leather and avoid the ruler from slipping.
This precision tool will help you draw accurate stitching lines or trimming line for all your leather goods. The rounded legs are pretty handy.
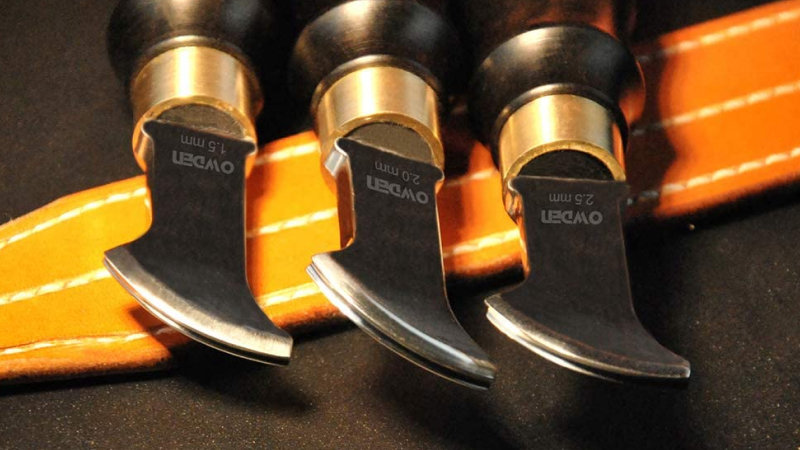
This tool is indispensable if you want smooth and clean edges on your leather creations. I recommend the size 1 and 2 for 1mm to 8mm thickness.
This brand is my favorite. The needles are almost indestructible and they a used by saddle makers. I use sizes 002 or 004 usually.
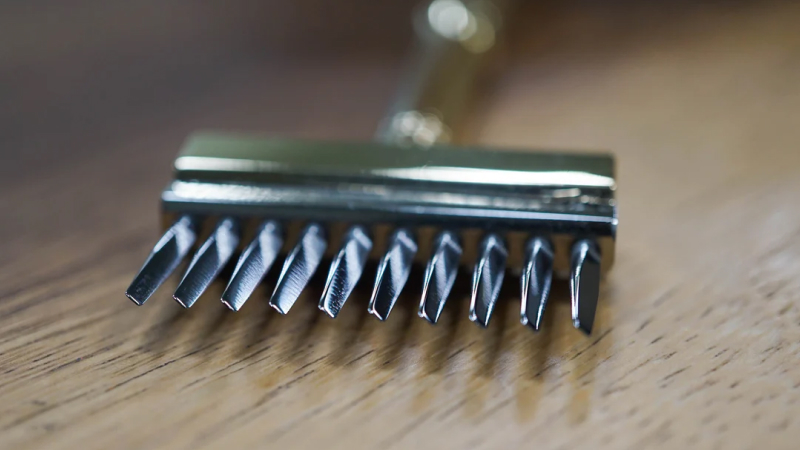
You need to create holes in the leather before stitching. This is one way to get french style stitching. I recommend a set of 2 & 8 teeth at 3.85mm spacing. (more common)
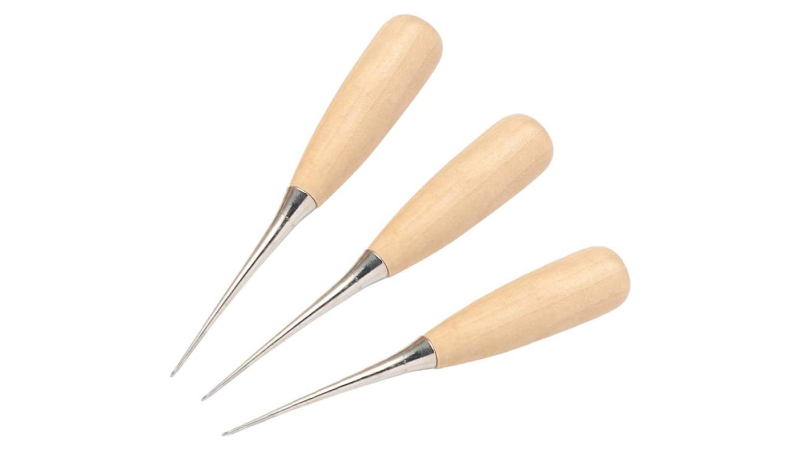
Not indispensable but recommended: this kind of awl with a handle will help you make the holes a bit bigger, and scratch the leather or guide threads. Cheap but useful.
I recommend you start with this pack to invite you to play with colored thread on your leather goods. You'll then buy longer spools when required. (rec. 0.45/0.55mm)
This kit is here to help you get shiny edges by burnishing them with those edge slickers of different sizes and purposes. I recommend the set.
If you want shiny edges, you can't do without Tokonole. It's the best burnishing gum I know. Start with the white (transparent) one.
There are multiple references of glue that works perfectly.
The Aquilim 315 is one of the best, but not necessarily available everywhere. I'm happy with the Suede one, and the Fiebing's.
This tool is optional, be recommended if you want a professional aspect on your edges with a beautiful decorative line. I use 2mm spacing.
If you want to have good decorative lines with the creasing tool, you'll need to warm the steel with this lamp burner before passing it to the leather.
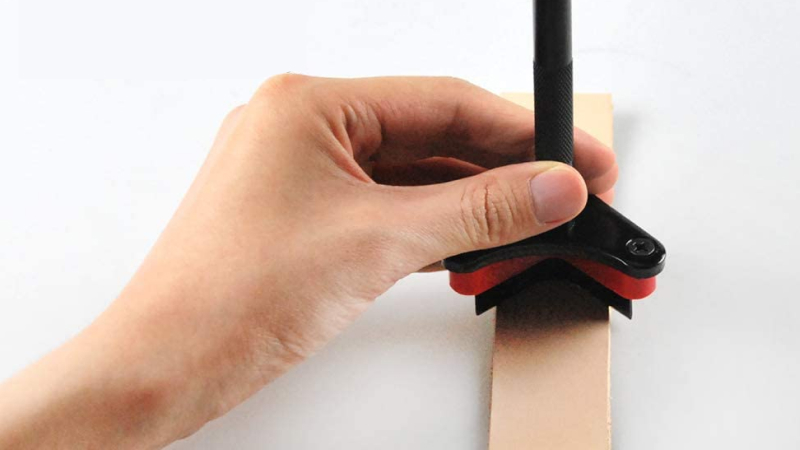
If you work on belts, straps, or want to have rounded corners on your wallet or other leathergoods, I recommend this tool, and a hammer :D
I use this optional set of punches to help me create curvy ends, or curvy pocket tops to avoid flat ends. You can totally make these by hand.
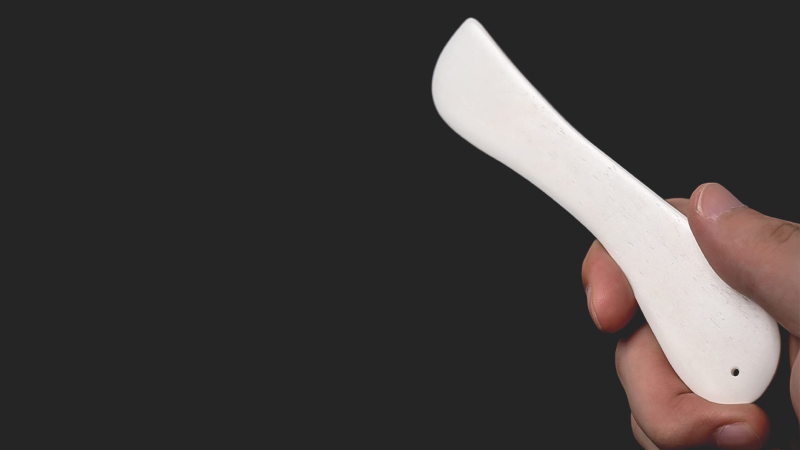
This set of tools is used to help you fold leather, create padded leather goods, or shape the pockets of your wallet, for instance.
This kind of hammer is really useful for hitting tools made with steel. It's heavy and will help with punching holes in the leather.
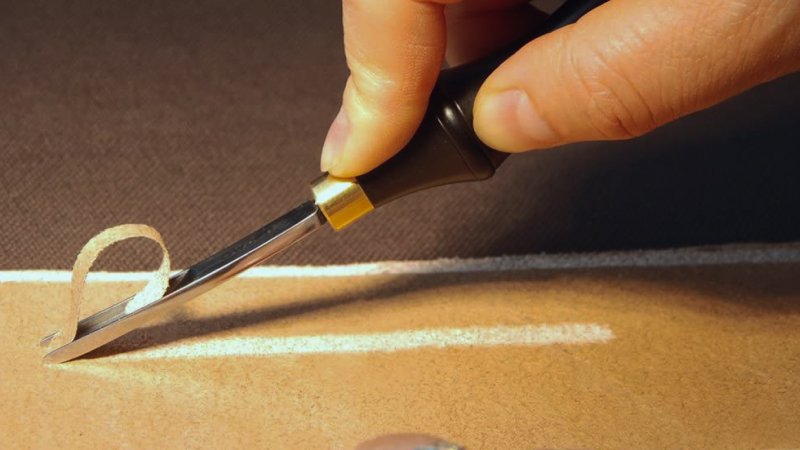
This is a great tool for preparing folds, for skiving sub-pockets or even sometimes for beveling. I bought a 4mm and 8mm large, and I'm happy with these.
The grooving tool can be useful if you want to hide a little bit of your stitching within the thickness of your leather or to create decorative lines. I use it also for folding thin pieces.
This tool allows you to rough your leather in both sides before applying glue. It helps contact glue to adhere much better. You can also use a large grain sanding paper.
This kind of hammer is really useful for hitting tools made with steel. It's heavy and will help with punching holes in the leather without too much effort, and without damaging your tools.
This list is a proposition of tools of a better quality level. I suggest you invest in better quality if you feel like you can do it. The quality mostly reside in ergonomics, durability, material, or features.
List being completed progressively based on my tests
Both the design (ergonomics) and function of this tool seduced me. The teeth are long, thin, sharpened and rounded, which make them easy to go deep in the leather, and remove them effortless.
The same occurred when I first saw these irons. I used multiple types of round hole pricking irons, but all of them end up clogged. This design allow the leather to be evacuated while you punch.
The KemovanCraft tools aren't all worth it based on my experience. But some of them are really beautiful, well made, pre-sharpened and handy. It's the case of the Edge Beveler you'll find in multiple wooden handle options.
Once again, the design of these tools are pretty good. They also arrive pre-sharpened. I personally took a size 4 and a size 8 but it seems the 4 isn't available anymore.
I don't have one of this brand, but a friend of mine would totally recommend it, his words: "good feeling in hand, cut like warm knife in butter, and really beautiful".
I suggest you first look around you for any local tannery. It's better to touch the product you'll buy for your leather and ask for recommendations from a professional.
If, like me, you don't have any, here are some online shops.
